
What to do when the VPS is not accessible?
You are unable to access the VPS mainly for the following reasons:
- Maybe the VPS memory (RAM) or CPU usage is very high (constantly above 90%) – VPS overloaded
- Your IP address has been blocked by the VPS remote desktop (RDP) firewall
- You may unable to access your VPS because the payment past due and the subscription expired
VPS overloaded
It could very well be that you can’t connect via RDP to your VPS because it’s simply overloaded – if you notice in Xen Orchestra that the VPS memory usage is very high above ~90%, then by all means force reboot VPS. Running too many applications or background processes can easily increase the memory usage of your VPS. It is recommended to use the VPS only in accordance with the package description.


Unblock your IP address
Our VPSs are protected by an in-house developed remote desktop application firewall, which bans the IP address that has repeatedly messed up the login. If you have banned yourself from your own VPS, this step-by-step guide below will show you how to unlock it using Xen Orchestra. The following guide will show you how to access your VPS without remote desktop from Xen Orchestra interface.
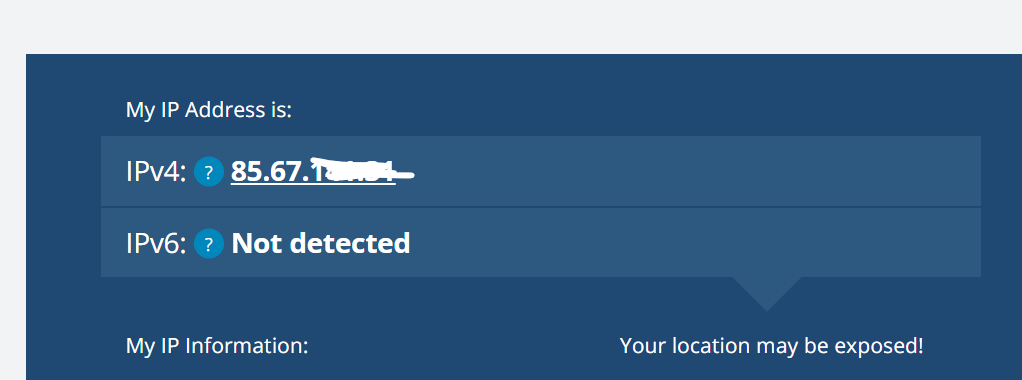
1. You need to know the IP address of your own PC
In order to be able to determine the IP address of your own machine, it is quite simple to open a website that display the IPv4 address of your PC or Laptop. For example, here is a reliable website: https://whatismyipaddress.com/
2. Login to Xen Orchestra
The Xen Orchestra login credentials was sent to you by email when you purchase the VPS. After logging in, you will see your active VPSs purchased from us.
Click on the VPS IP address.

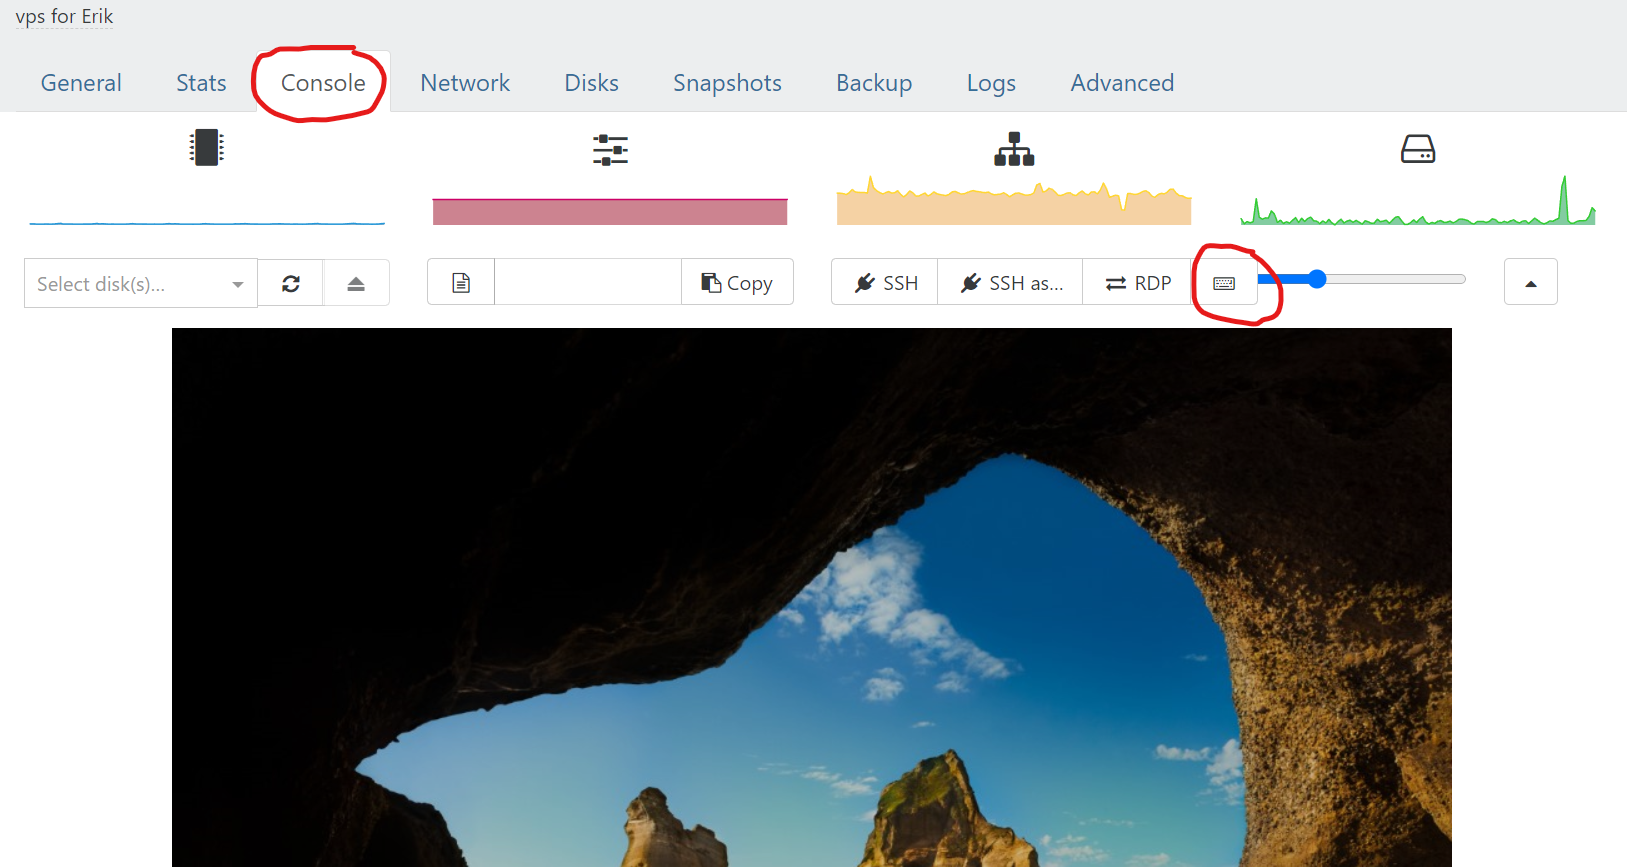
3. Navigate to the “Console” tab, then press the keyboard icon (send Ctrl+Alt+Del) – in this case, the login interface of the Windows Server VPS will appear where you only need to log in with the password used for the VPS.

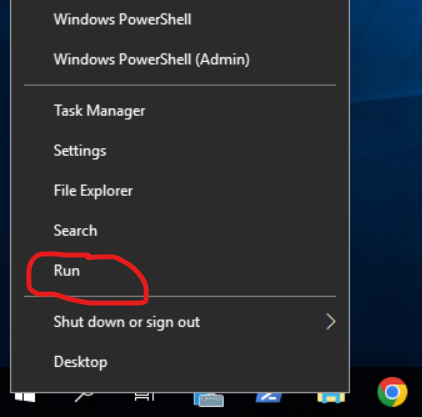
4. After logging in, right-click on the start menu/Windows logo, then select the “Run” option.
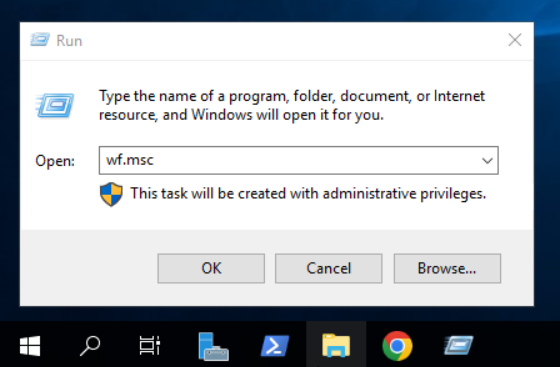
5. In the pop-up window, type wf.msc, and then click OK.
6. The Windows Firewall interface will appear. Navigate to “Inbound rules” on the left. Here you will see the IP addresses blocked by rdpProtect – find yours (which you found in the first step)
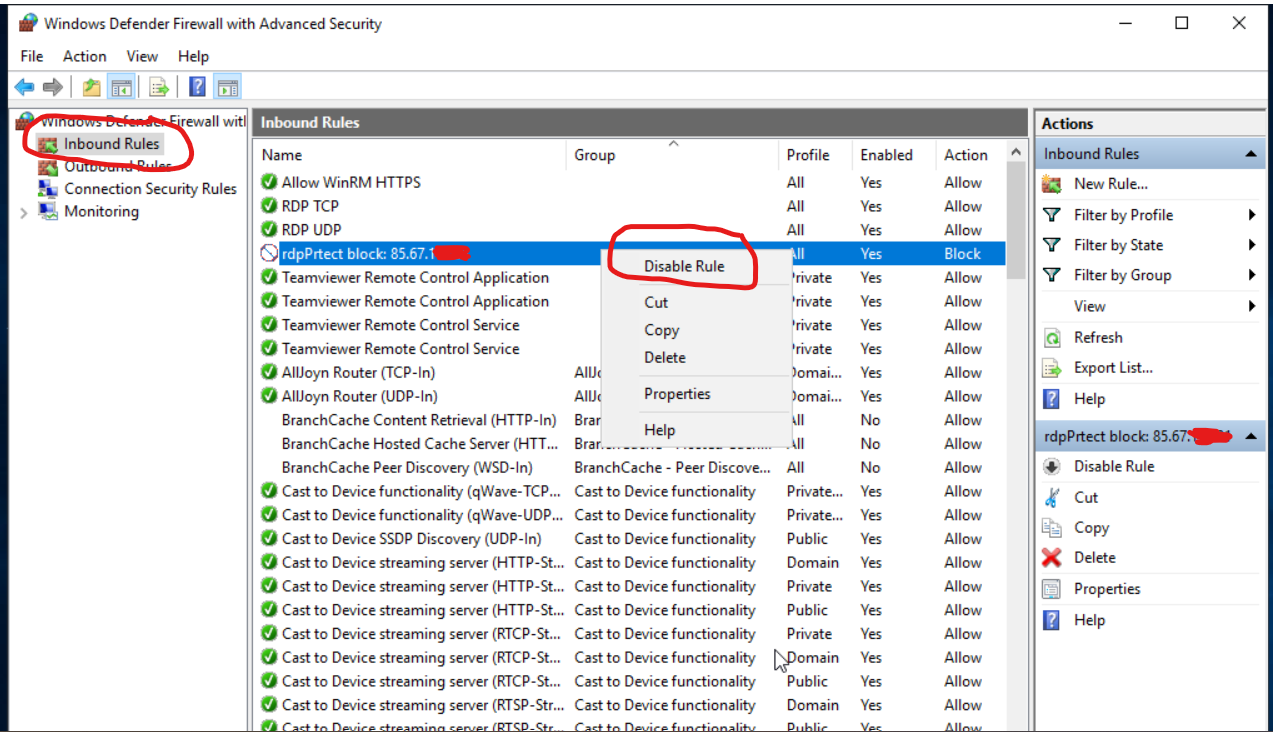
7. Highlight the line where you recognized your IP address and right-click on it, then select the “Disable rule” or “Delete” option. This enabled RDP (Remote Desktop) connection to the VPS from your IP address. Try to connect!
Contact us
Of course, if you have not been able to solve the technical problem based on this guide, or if you want to take care of a payment-related matter, please write to us at info@ultrafx.com.